Basic Repair Instructions for Car Beginners
Embarking on the journey of basic car repairs can be a gratifying experience for beginners, providing a sense of empowerment and independence when it comes to maintaining your vehicle. Understanding fundamental repair tasks not only saves you money but also cultivates a deeper connection with your car. In this guide, we will demystify the process of basic car repairs, offering clear and concise instructions that empower even those with limited automotive knowledge to tackle essential maintenance tasks. Whether it’s changing the engine oil, replacing air filters, changing spark plugs, or tackling brake pad replacements, we’ll guide you step-by-step through these common repairs, ensuring that you can approach them with confidence and ease. Let’s dive into the world of basic car repairs and equip you with the skills to keep your vehicle running smoothly.
Contents
Essential Tools and Safety Precautions
Before embarking on any car repair project, it’s crucial to have the right tools and follow safety precautions. Here, we’ll discuss the essential tools every beginner should have in their toolbox and some safety tips to keep in mind.
Tools for Car Repairs

- Socket set: A set of sockets in various sizes will be handy for many repairs.
- Screwdrivers: A selection of flathead and Phillips screwdrivers will cover most needs.
- Pliers: Invest in a good pair of needle-nose pliers and adjustable pliers for gripping and cutting.
- Jack and jack stands: These are essential for lifting the car safely during repairs.
- Wrenches: Combination wrenches and adjustable wrenches are versatile tools for various repairs.
- Multimeter: This tool helps diagnose electrical issues in your vehicle.
- Oil filter wrench: Necessary for oil changes.
- Gloves, safety goggles, and a first aid kit: Essential safety gear to protect yourself during repairs.
Safety Precautions

- Park in a safe location: Always choose a flat surface away from traffic when working on your car.
- Disconnect the battery: Before working on any electrical components, disconnect the battery to avoid shocks.
- Use proper lifting techniques: When using a jack, follow the manufacturer’s instructions and place jack stands securely.
- Wear protective gear: Gloves, safety goggles, and closed-toe shoes are essential for your safety.
- Take breaks: If you find yourself frustrated or fatigued during a repair, take a break and regroup.

See more: Upgrade Car Lights: Enhance Light and Safety
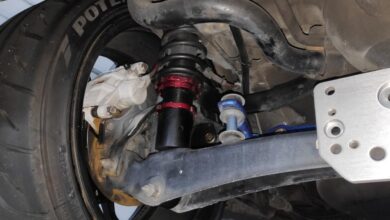
Changing a Flat Tire
One of the most common car repairs every driver should know is changing a flat tire. In this section, we’ll guide you through the step-by-step process.

- Find a safe location: Pull over to a flat surface, away from traffic, and engage your hazard lights.
- Gather the necessary tools: You’ll need a spare tire, jack, lug wrench, and wheel wedges.
- Secure the vehicle: Place wheel wedges on the opposite side of the flat tire to prevent rolling.
- Loosen the lug nuts: Use the lug wrench to loosen the lug nuts but don’t remove them just yet.
- Lift the vehicle: Locate the proper jacking point, as indicated in your vehicle’s manual, and use the jack to lift the car until the flat tire is off the ground.
- Remove the lug nuts and flat tire: Fully remove the lug nuts and take off the flat tire.
- Install the spare tire: Align the spare tire with the wheel bolts and hand-tighten the lug nuts.
- Lower the vehicle: Use the jack to slowly lower the vehicle until it rests on the ground.
- Tighten the lug nuts: Use the lug wrench to securely tighten the lug nuts in a star pattern.
- Check the spare tire pressure: Before driving, ensure that the spare tire is properly inflated.

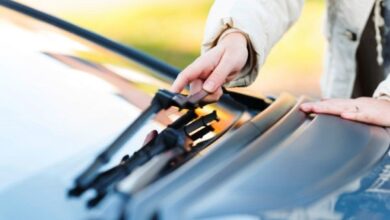
Replacing a Headlight Bulb
Dim or burnt-out headlights can significantly impact your visibility on the road. Here’s a step-by-step guide to replacing a headlight bulb.

- Identify the bulb type: Refer to your vehicle’s manual or consult an online resource to determine the correct replacement bulb type for your specific make and model.
- Access the bulb housing: Locate the back of the headlight assembly and remove any covers or connectors obstructing access to the bulb.
- Remove the old bulb: Depending on the type of connector, twist or unclip it to release the old bulb.
- Install the new bulb: Take care not to touch the glass part of the new bulb as you insert it into the socket.
- Securely fasten the bulb: Reattach any clips or connectors that were removed earlier to ensure a secure fit.
- Test the new bulb: Turn on your headlights to verify that the new bulb is working correctly.
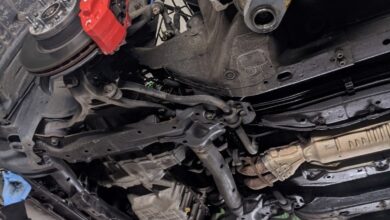
Changing Engine Oil
Regularly changing your car’s engine oil is vital for its longevity and performance. Follow these steps to perform an oil change.

- Gather necessary supplies: You’ll need oil (as recommended by your vehicle’s manufacturer), an oil filter, an oil pan or container, a funnel, and gloves.
- Prepare your vehicle: Park on a level surface, engage the parking brake, and let the engine cool down.
- Locate and remove drain plug: Consult your vehicle’s manual to locate the drain plug beneath the engine. Place the oil pan underneath and loosen the plug to drain out the old oil completely.
- Replace oil filter: Remove the old oil filter using an oil filter wrench and replace it with a new one by hand-tightening it.
- Add new oil: Using a funnel, pour in the recommended amount of fresh oil into the engine through the oil fill cap.
- Check oil level: After allowing time for the oil to settle, check the oil level using the dipstick. Add more oil if necessary.
- Dispose of old oil properly: Take your used oil and filter to a local recycling center or an auto parts store that accepts used oil.

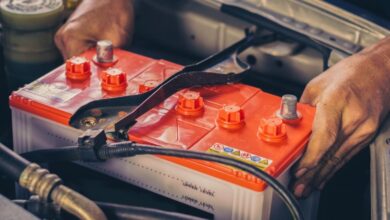
Jump-Starting a Dead Battery
A dead battery can leave you stranded, but jump-starting it can get you back on the road quickly. Here’s how:

- Find a working vehicle with a charged battery: Park it near your car but avoid physical contact between both vehicles.
- Identify positive/negative terminals: Familiarize yourself with battery terminals – positive (+) is usually red, while negative (-) is black.
- Connect jumper cables:
- Connect one end of the positive (red) jumper cable to your dead battery’s positive terminal.
- Connect the other end of the positive (red) jumper cable to the positive terminal of the working battery.
- Connect one end of the negative (black) jumper cable to the negative terminal of the working battery.
- Connect the other end of the negative (black) jumper cable to an unpainted metal surface in your car’s engine bay (away from batteries).
- Start the working vehicle and let it run for a few minutes.
- Attempt to start your car: Turn on your ignition and try starting your vehicle.
- Disconnect jumper cables in reverse order: Start by removing the negative (black) jumper cable from your car’s metal surface, then remove it from the working battery’s negative terminal. Repeat this process for positive (red) jumper cables.
- Let your engine run: Allow your car’s engine to run for at least 15-20 minutes to recharge your battery.

Car DIY 101: Basic Repair Instructions for Beginners
Congratulations! You’ve now learned some essential repair instructions for car beginners. By following these step-by-step guides and safety precautions, you’ll be able to handle basic repairs with confidence and save money by avoiding unnecessary trips to an auto repair shop. Remember, practice makes perfect, so don’t hesitate to get hands-on experience with these repairs under proper guidance. Happy repairing!

See more at: Topcarr